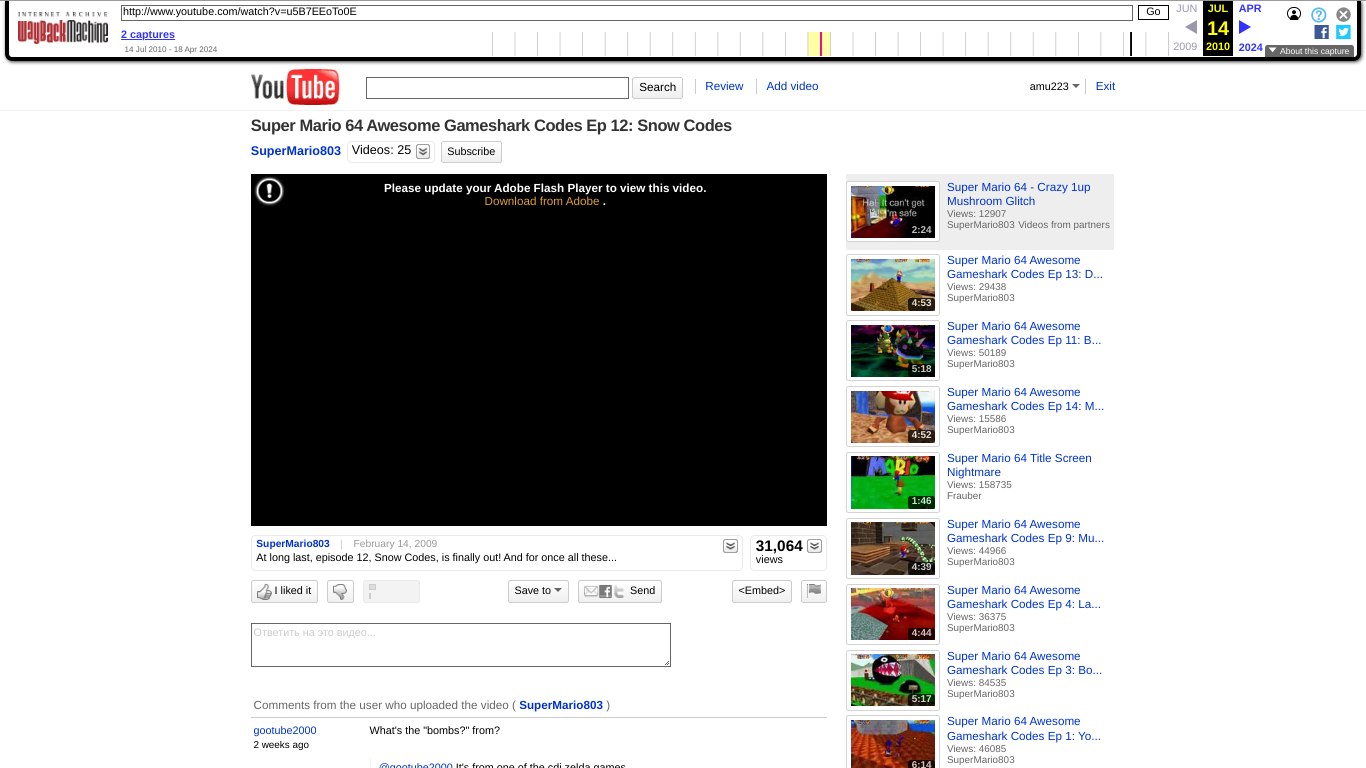
Step 1: Access the Archived Video Page
Go to the specific YouTube video page you wish to recover on the Wayback Machine. It's crucial that this is a capture from approximately mid-2010 to 2011 for this method to be effective.
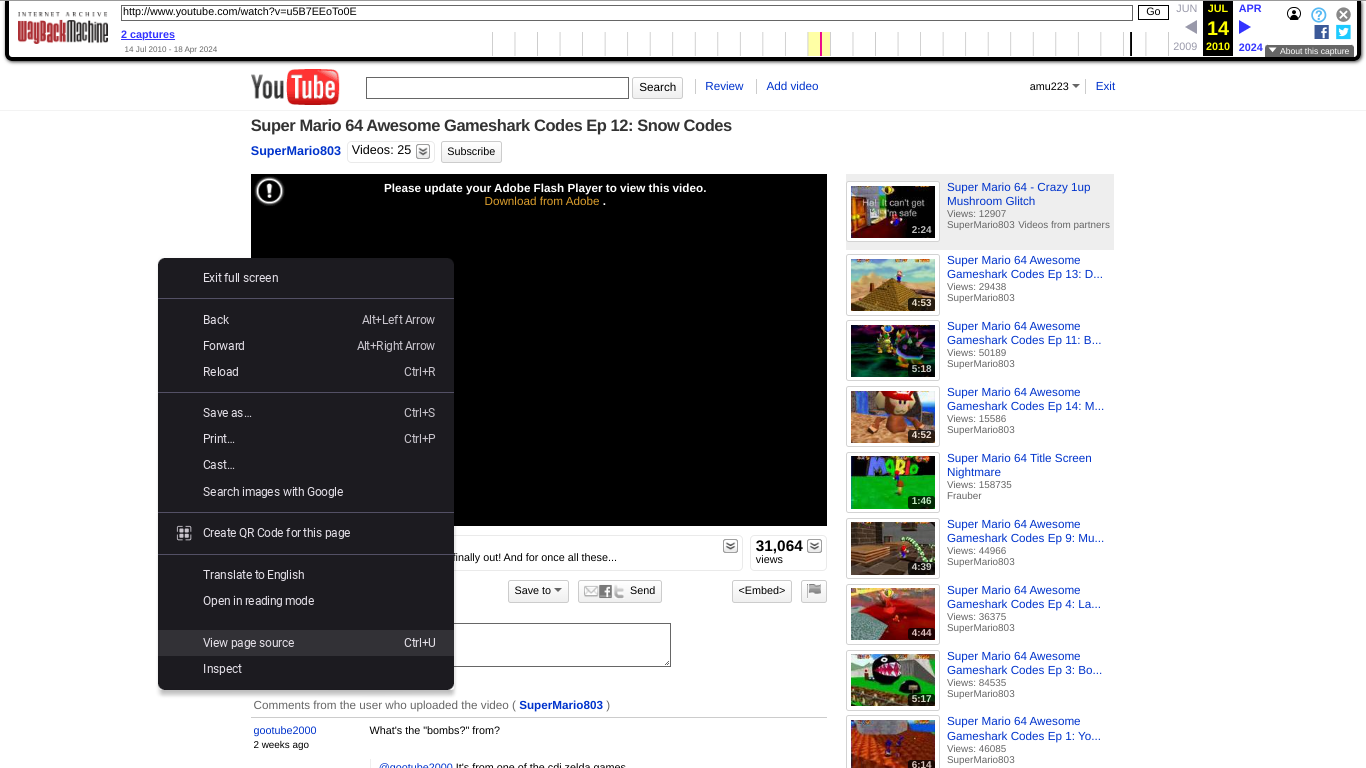
Step 2: View Page Source
Once the archived video page has loaded, right-click anywhere on the page and select "View page source" from the context menu. Alternatively, you can use the keyboard shortcut Ctrl+U (Windows/Linux) or Cmd+Option+U (Mac).
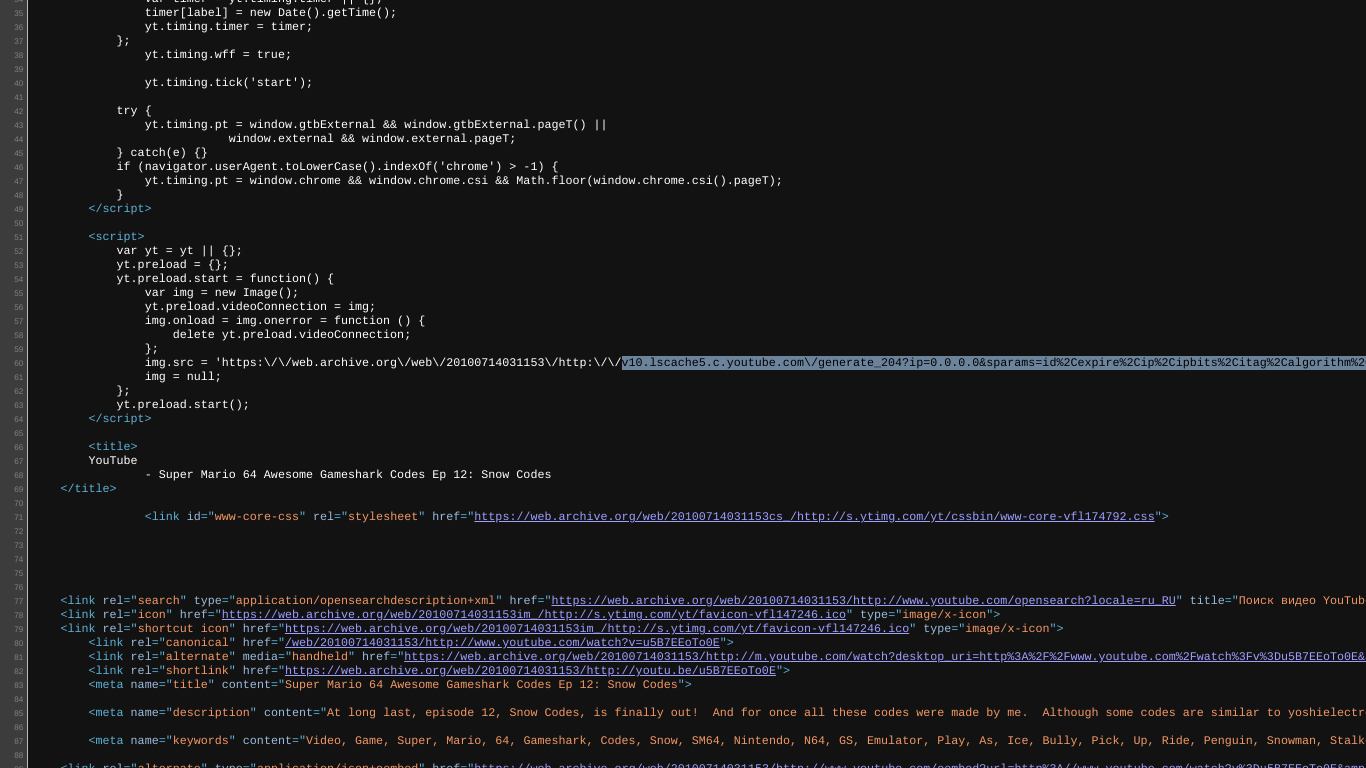
Step 3: Locate the Video Stream URL
In the new tab or window that displays the page's source code, use the search function (Ctrl+F or Cmd+F) and look for the string generate_204. You are searching for a URL that typically follows this structure:
v(number).lscache(number).c.youtube.com/generate_204...The numbers will vary, but the key is to find the part containing generate_204. This URL is usually found within a <script> tag or related JavaScript code responsible for loading the video.
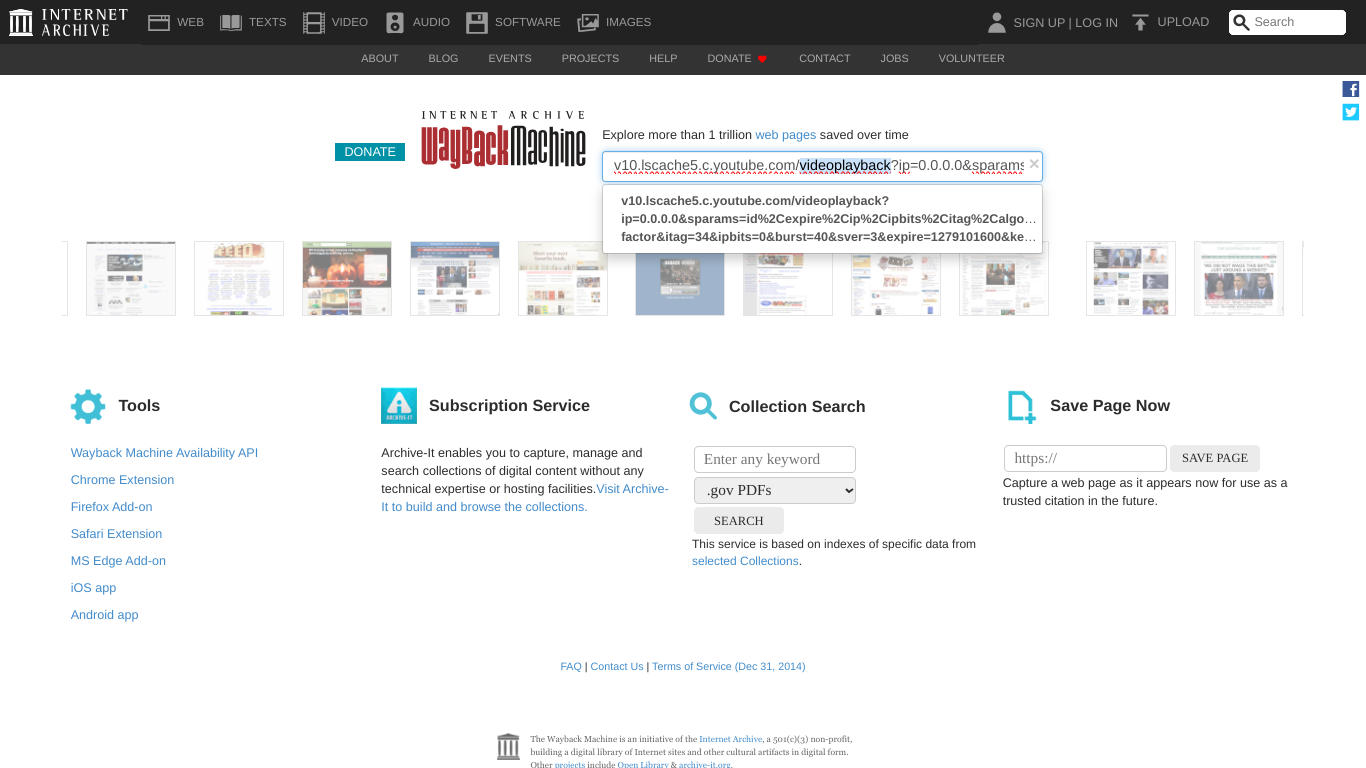
Step 4: Modify and Search the URL on Wayback Machine
Copy the entire URL you found in the previous step. Then, go to web.archive.org and paste this copied URL into its search bar.
Crucially, you must change generate_204 in the URL to videoplayback. For example, if your copied URL was:
http://v10.lscache5.c.youtube.com/generate_204?id=...You need to modify it to:
http://v10.lscache5.c.youtube.com/videoplayback?id=...Also, make sure to remove any quotation marks (") or backslashes (\) if they were accidentally copied along with the URL, as these are not part of the actual URL and will prevent it from working.

Step 5: Check for an Archive of the Modified URL
Submit the modified videoplayback URL for search on the Wayback Machine. If you're lucky, the Wayback Machine will show that it has an archive of this specific URL. This indicates that the raw video stream itself was captured.
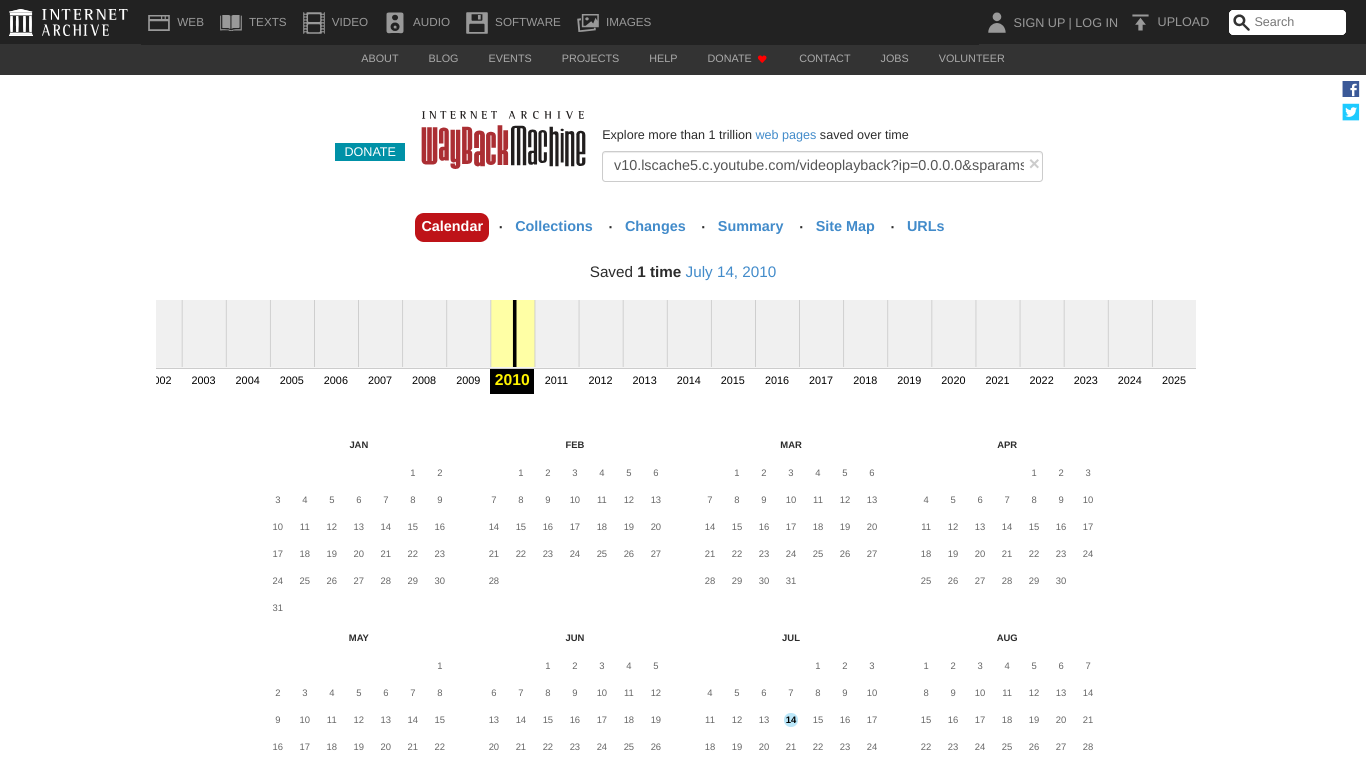
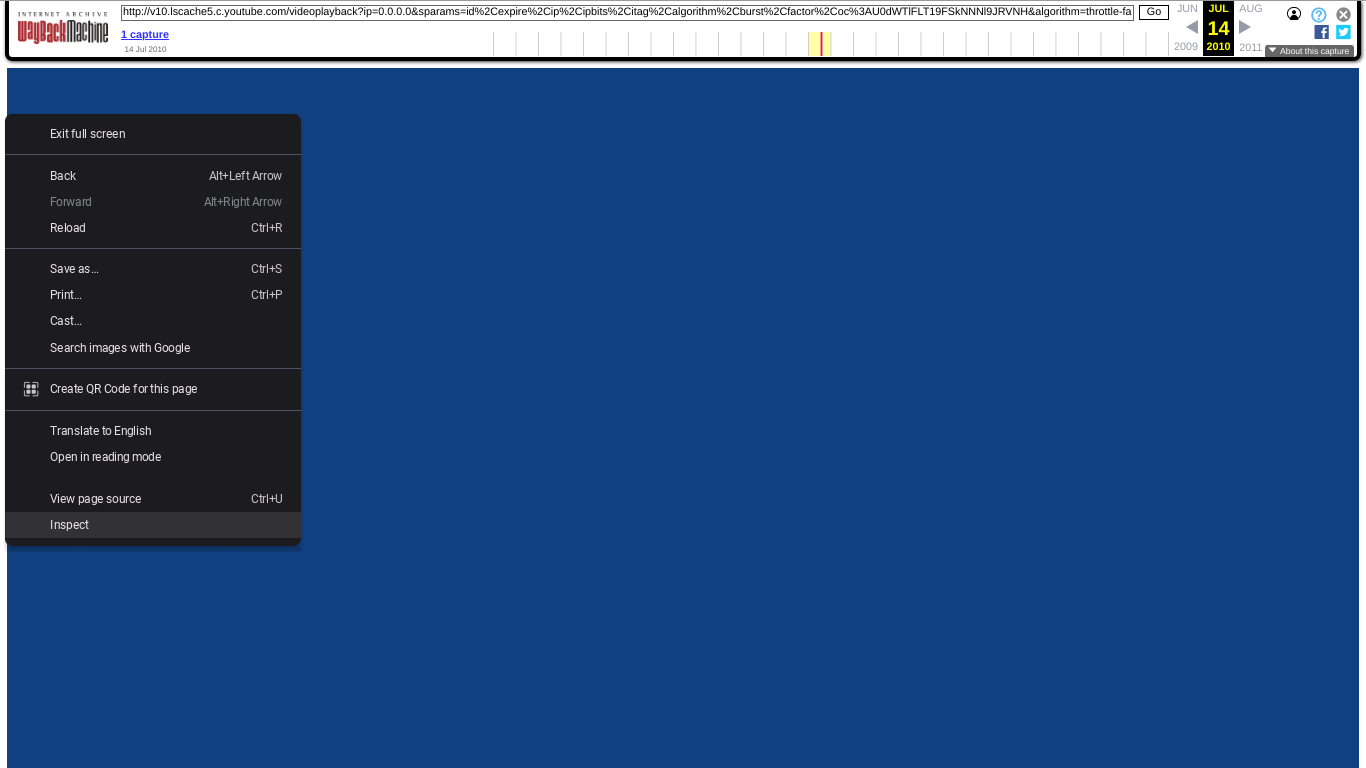
Step 6: Access the Archived Video Stream
Click on the highlighted date on the Wayback Machine calendar (e.g., June 16, 2010). This will take you to a page where the Wayback Machine attempts to serve the raw video file. You might see a blank player, a solid colored screen (like blue), or a message stating "Wayback Machine cannot play back this type of Flash Videos (yet)".

Step 7: Open Developer Tools (for Download)
To download the video file, right-click anywhere on the page (where the video should be playing or attempting to play) and select "Inspect" or "Inspect Element". This will open your browser's developer tools panel (often at the bottom or side of your browser window). You can also use the shortcut F12 (Windows/Linux) or Cmd+Option+I (Mac).
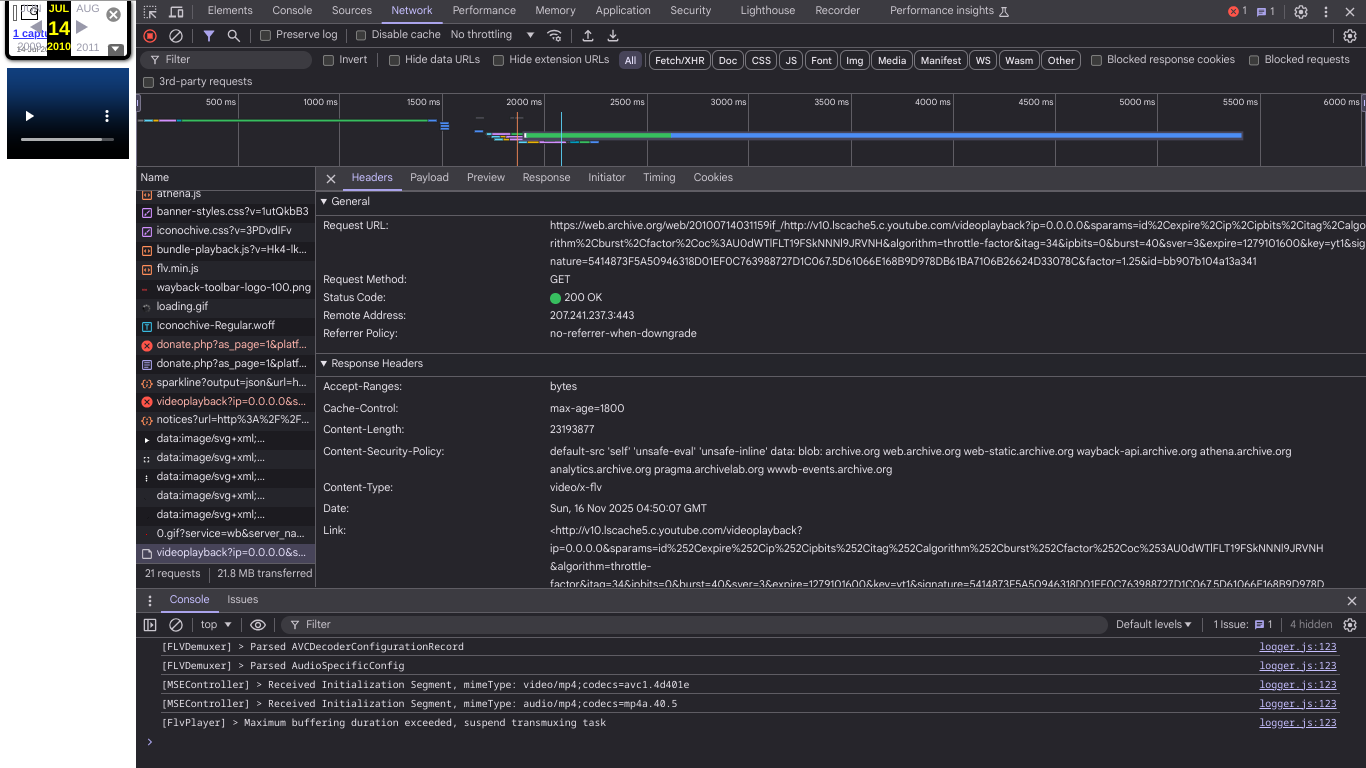
Step 8: Navigate to the Network Tab
Within the developer tools, click on the "Network" tab.
Step 9: Refresh and Filter Network Requests
With the Network tab active, refresh the page by pressing Ctrl+R (Windows/Linux) or Cmd+R (Mac). This will log all the network requests your browser makes to load the page content.
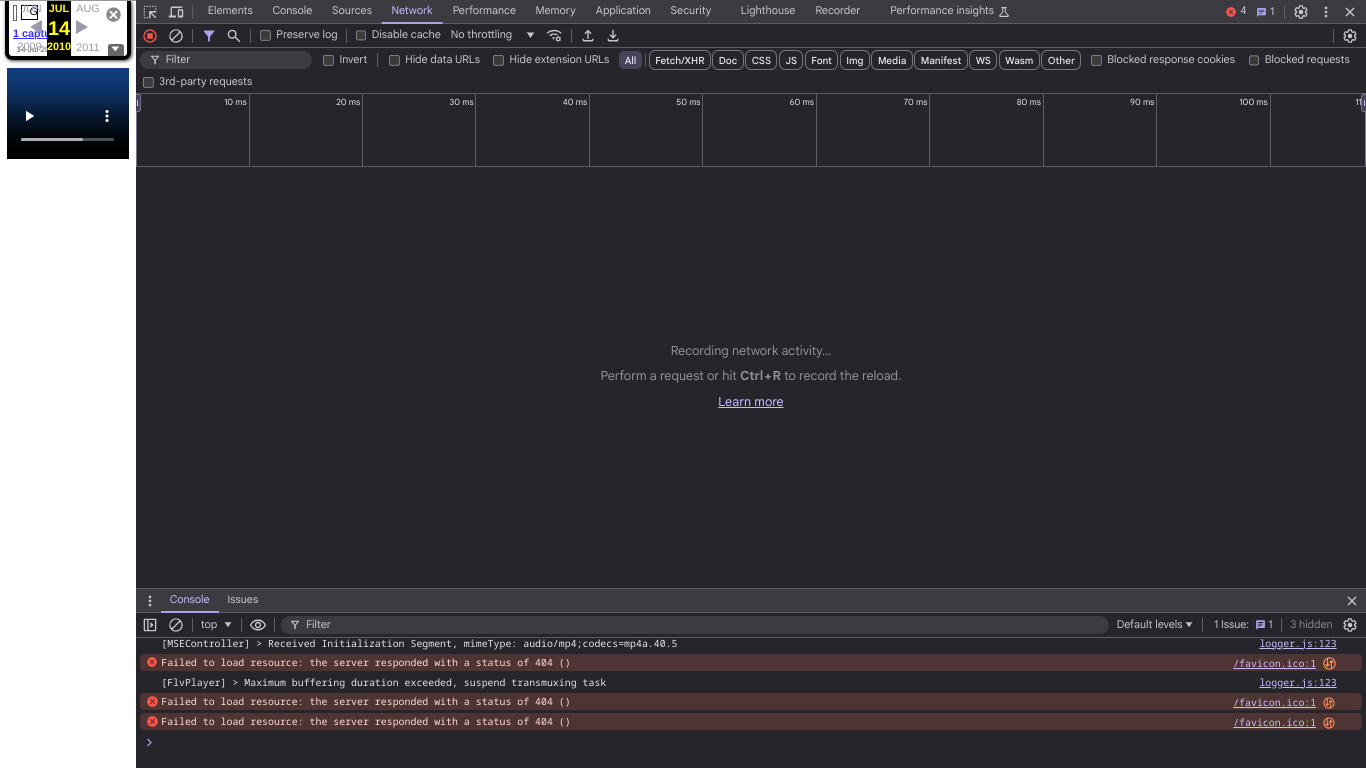
Step 10: Locate and Download the "videoplayback" File
In the list of network requests, look for a file named videoplayback. You can use the search/filter bar within the Network tab to narrow down the results, or filter by "Media" type. Once found, double-click on this videoplayback entry. This action should prompt your browser to download the recovered video file to your computer.